Friday, December 14, 2012
Happy Holidays Blog Post
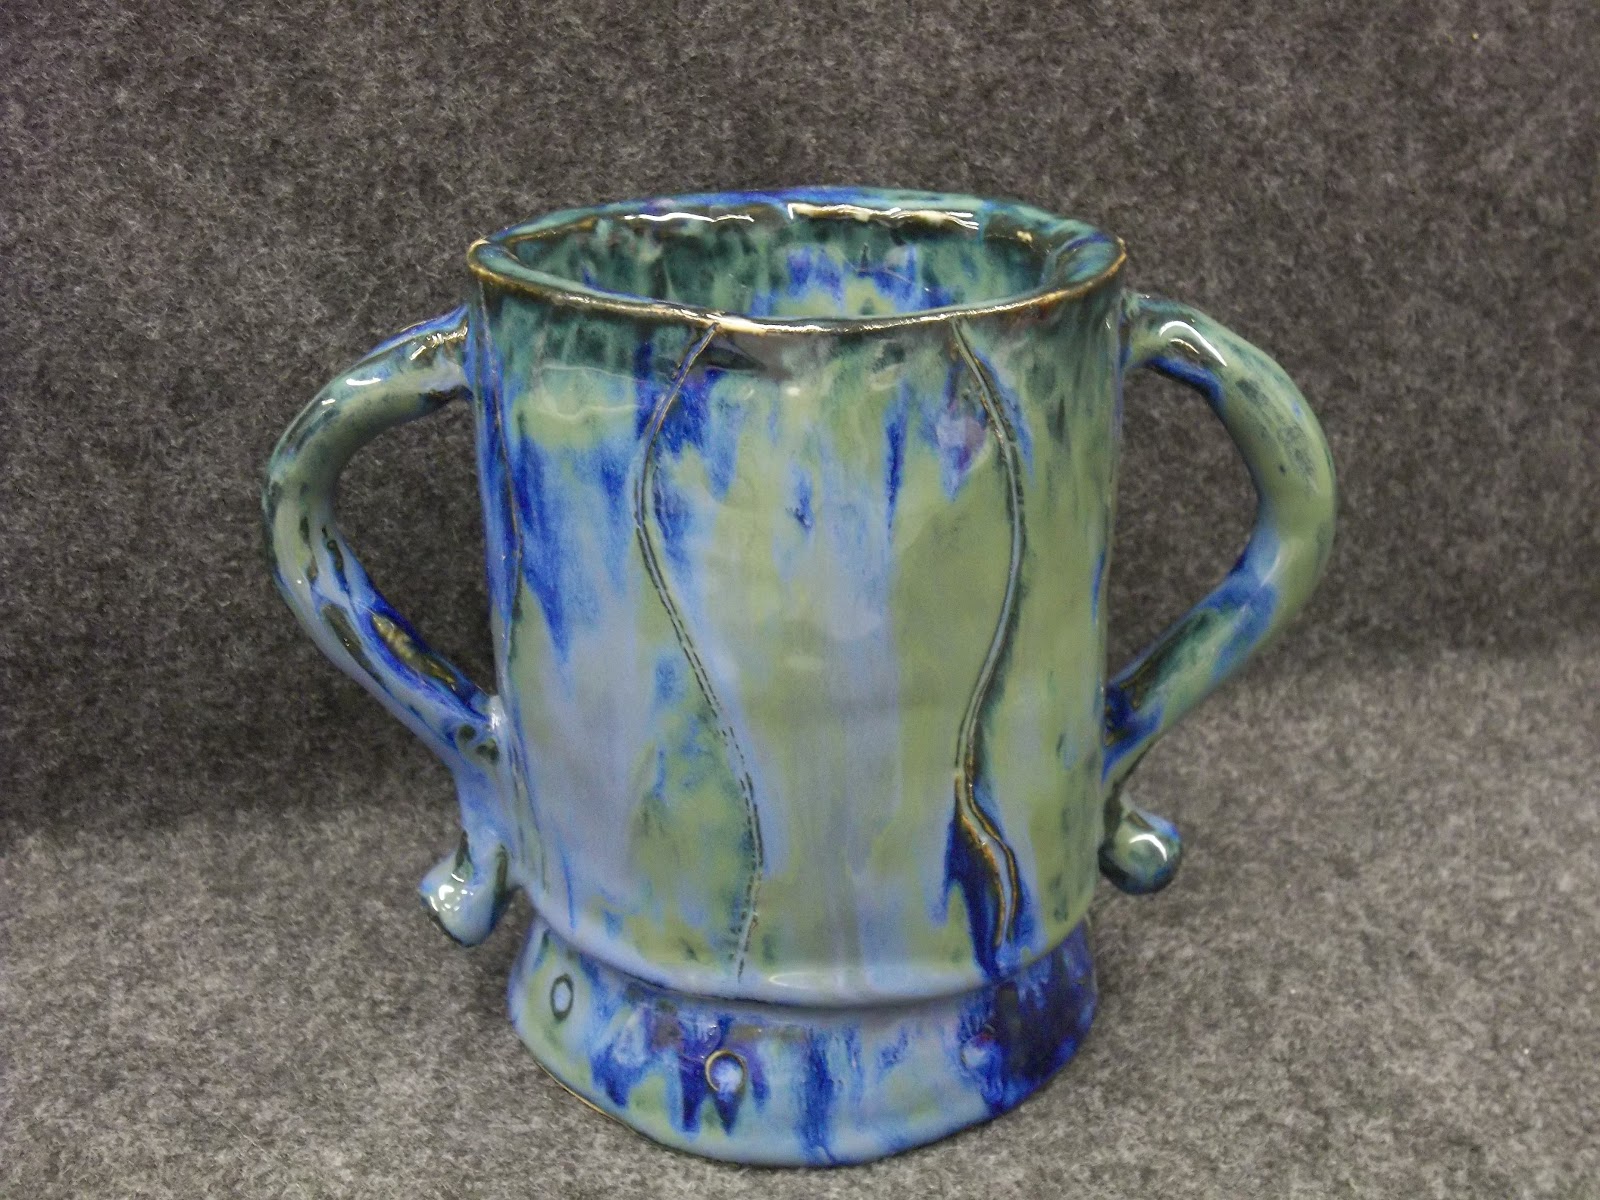
I have my coil pot and one of my cups to take pictures of. The rest are in the kiln.
Leather Hard - Clay which has dried sufficiently to be stiff, but is still damp enough to be joined to other pieces.
Bone Dry - Clay that is completely dried but not yet fired.
It is important to connect work, such as handles, onto work on the wheel when the clay is leather hard. When the clay is leather hard the clay is still moist enough to be changed but dry enough so the clay will not move all over the place. If the clay is too wet, your pieces can be easily damaged and you can cut in too deep. If the clay is too dry, it will be very hard to trim your piece.
Friday, November 9, 2012
Glazing: Part II
I already took a picture of my pot.
On my pinch pot, I used Oasis and Transparent. I applied the Oasis by dipping my pot into the bucket after making sure it was stirred and the bottom of my pot was brushed with the glaze-resistant. I held it under for two seconds, and then took it out. I had to apply the Transparent by brush and applied an even coat.
The glaze ran a little down the pot and seemed to separate a little. This was because the kiln was stuck at a temperature for six hours. Although, I would not be surprised if I was at fault too. Other than that, the glaze and firing went fine. Next time, I will use a different kiln and maybe chose different glazes as well.
Friday, October 19, 2012
Glazing
It is important to wash your hands and wipe off any dust before you glaze because the particles can get trapped. When you apply the glaze, any dust particles could become trapped with the glaze overtop and your finished product could be bumpy. Your hands have oils on them and that oil can interact with the glaze and cause the glazing to become uneven as well.
When glazing, you apply wax resist only when you are dipping into a bucket of glaze. This is because when you paint it onto the pottery, you would not have to put wax resistant because you would not paint the bottom.
When dipping you only want to dip for two seconds because you need just enough time for the glaze to cover your project, but you do not want any longer than necessary.
You need to dip the pottery into the buckets that are supposed to be dipped and not brush them on. You can not brush it on because the brush will not pick up all the components of the glaze, but dipping it will make sure the glaze and all its components are on evenly.
Friday, October 5, 2012
Working on the Wheel
I have worked on the wheel two days already. I am pretty good at bringing the clay up and down three times, without it taking all class. I have not yet mastered centering the clay and keeping it centered as I bring the walls up. I have tried bringing up the walls a couple times, and am still working on it. It seems that when I bring the walls up, I have trouble keeping the clay even throughout my entire piece. It either seems to be too thick towards the bottom of the pot or too thick towards the top. Next time I work on the wheel I look forward to trying to get better at this.
Working on the wheel is a fun experience. It is hard, but just a skill that will take a while to develop. I love seeing my improvement each class as I get better and better with practice. The only thing I am worried about is how many classes I have left to get my pot to as close to six inches as I can.
Friday, September 21, 2012
Where I Am Today
My pinch pot did not turn out exactly how I thought it would.
Originally I wanted my pot to turn inward at the middle of the pot and then turn outwards again. I decided to change this idea to just a flat side because one side of my pot turned inwards the way I wanted it and the other side was flat. I spent almost an entire day trying to make both sides of my pot even, and in the end the pot turned out more flat then curved. I liked this new look and decided to go with it and see what creative design I could think of.
To make this new idea work out I changed a couple things. The first thing I had to do was add some flair to the sides, in order to make my pot not totally flat on the sides. I made my pot turn inwards at the very bottom to make a cool profile of my pot. I also added some handles to give my pot some more character.
At this point the only thing that I would change is to make my pot look more smooth. Right now, it has sort of a rough texture, but I think baking it will help it some. I wish I also made the opening all the same thickness, because I really struggled with making all of the walls even and it got to a point where I really was not helping my pot anymore.
Friday, September 7, 2012
Pinch Pot: Vase
When you slip a score a piece of pottery you make small notches on the edge of the clay where you will be joining two pieces together. You then put the slip as a type of glue between the two pieces. It is important to score and slip to make a firm connection between two places of clay that you have joined together.
To make my vase symmetrical, I slowly made the shape and looked back at it every couple minutes to make sure it was looking symmetrical. If it was not looking even, I adjusted the clay and molded it so it would be symmetrical.
Sunday, September 2, 2012
Ms. Leardi
Ms. Leardi was my 7th grade science teacher. She is someone I admire because she was never without a smile on her face. Even if she was having a very rough day, she never let on and remained positive everyday. Ms. Leardi wanted to teach her students not just academics, she wanted us to learn life lessons. She installed a feeling in all of here students that every person was equal in her eyes and that we could do anything that we set our minds too. She taught me that my attitude affects the people around me and that if I am happy, people around me will be happy too.
It was not just her attitude that made Ms. Leardi an admirable person. She also believed in teaching her students in a way that everyone would understand and used many labs and fun activities to teach. I walked away from that science class not only smarter, but also with a higher self-esteem and the belief that it did not matter what anybody said, I could do what I wanted with my life and be whomever I wished to be. Ms. Leardi inspired every person and student that knew her and left an impact on everybody's life. I wish to someday touch people's lives just as she did and I look to her on how to do that.
Subscribe to:
Posts (Atom)